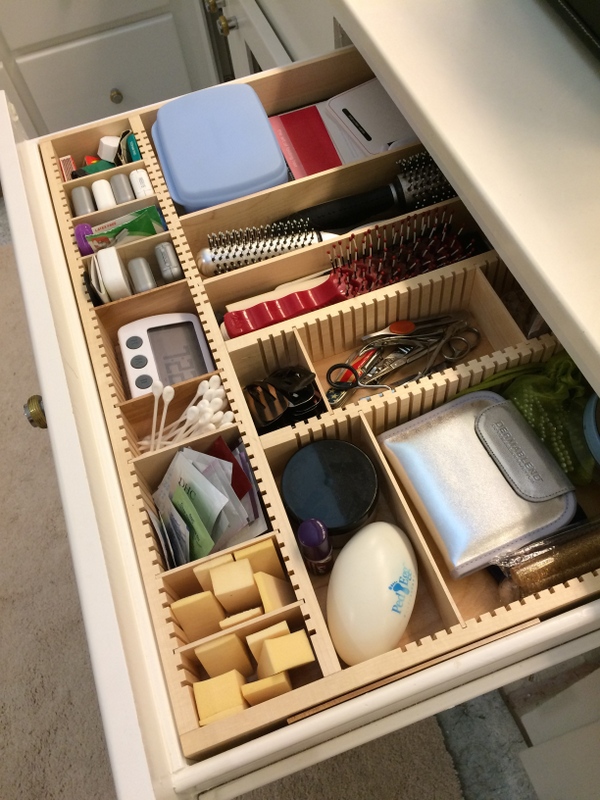
Here’s a nice photo showing finished stock with unfinished ends. On display are the white, red, and brown personalities of maple.


The possibilities and practicalities of drawer organization
Here’s a nice photo showing finished stock with unfinished ends. On display are the white, red, and brown personalities of maple.

Maple has a well-established niche in the world of wood. Most of this reputation comes from its dependability:
It has a uniform density.
It has very few knots.
It is not porous (like oak, for example, which is essentially a bundle of tiny straws — one can actually breath through a board of oak if you put your lips against the end grain).
It resists splits.
It sands down to a very smooth surface.
But every now and then, Maple has its secrets and surprises. The occasional “tiger stripes” of maple are well-known and much prized.
Here’s another one: lenticularity.
Remember those lenticular cards you had when you were a kid? Held at one angle, they show one thing. At a different angle, they show something else.
Here’s a lenticular card made by Printshaq that you can twist to make it seem the butterfly is flapping its wings:

Well, occasionally you’ll find that same effect in maple. Here’s one I found recently.
Viewed from straight ahead:

Viewed from about 45 degrees to the side:

Pretty cool.
The tiger stripes, mentioned above, also often have a lenticular quality. Here are two photos of the same piece of wood. From the left angle, notice that the stripes are light-colored on a field of reddish wood…

From the right angle, the stripes look red on a field of tan…

Buyer “S” sent in this picture and had the following comments:
Hi Nathan [Thanks] for checking in! Yes I did receive the knife block and I have installed it into my drawer. It fits nicely. I then added all my knives. I am finding my 2 Chefs knives rock in their slots. I am concerned if the handles rock up, they will catch the drawer and prevent me from opening it. I have to be careful about my placement. I have sent a picture of what they look like. Also, I would have preferred the small knives all one side or another, not every other one, one large then small, then large, etc. It is a bit challenging to pull the small knives with a large knife on each side.

So first, about the rocking knives. We already wrote about this problem here, but S has helped us see there’s more to say.
S’s concern is legit, especially since he has the traditional high-quality “face frame” style of cabinet rather than the cheaper “Euro” style. This means he has a frame of 1.25 to 1.75″ (dimension shown in red in the photo below) around the face/opening of his cabinet, so there’s a large obstruction there to catch a rocking knife’s handle that sticks up too high.

In contrast, the Euro style has very little to catch on as you open the drawer. The photo below shows the panel above the drawer going back continuously to the back of the cabinet, meaning there would be nothing to catch on, but in my experience they would typically just have a strip of particle board there, ending at about the blue dotted line. So there’s still a chance of catching that, but less likely.

Either way, that’s a bad situation: something in the drawer has logjammed and you can’t open the drawer. Time to get clever and dextrous, I guess. Or else just go for brute force and hope there’s no damage resulting.
Here’s a possible cure for S’s “rocking knife” situation:
Commit to which knives will go in each slot and then put a little lift into the appropriate knife slots out near the tip.
A good material might be a little wad of plastic wrap stuffed down into the slot with a butter knife. That should hide neatly out of sight and be able to keep doing its job — without dulling the blade — in spite of getting rough treatment from the blade.
S also discusses the difficulty of accessing his smaller knives when sandwiched between the Chef’s knifes’ blades.

Yes. That’s awkward. We designed the knife block layout for allowing the maximum number of knives per drawer area, and that means we need to have the smaller knives’ handles nestled between the larger knives’ blades.
So, if you aren’t pressed for space, consider using a larger knife spacing or planning for some empty knife slots to allow quick access to your favorites.
Hello friends!
Well, 2020 was especially eventful for us and 2021 is promising to be the same. No doubt that’s the case for you as well.
But the quest for great organization never ceases, and Orderly Drawer is here for you.
Several new types of organizers are in the works. Join our mailing list to get updates about this and more.
Good question. There would be if all ties were created equally, but they’re not. Remember the skinny neckties of the ’80s? Perhaps they were in backlash to the wide ties of the ’70s. Today, ties tend to be mostly somewhere in between, but you never know when a new width will become the next big trend. What to do? Here are some thoughts on how to size your tie cubbies.
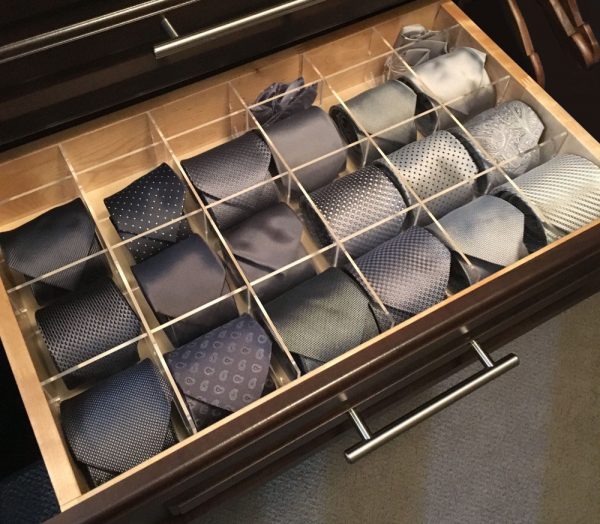
If you want your cubby grid to be evenly spaced, and you want your ties to be placed broad-side up in drawer, as seen above, you need to measure the width of your widest tie and plan the cubby width accordingly. The above are 3.5″ x 3.5″
A 3 x 3″ cubby will comfortably accommodate the typical tie, if not in the broad-side up position, then in the edge-side up position so that the coil is visible, like a cinnamon roll’s swirl, as in the photo below. (Thanks to Flickr’s WernerKrause for the use of this image.)

Don’t forget that cubbies don’t have to be evenly spaced. You could have a couple columns for skinny and bow ties and one for wide ones, as shown in the layout below. On page four of the design wizard, just drag the wall to suit your preference.

On page four of the design wizard, just drag the walls to suit your preference.
I recently got the following from a customer:
The divider looks great. The only problem is my drawer does not come out and it just won’t fit. We are talking about half an inch…So upset. What would you recommend? Is it easy for me to remove the nails from one side and trim it a bit?
This was my response:
Don’t worry. We’ve never met a drawer that could not be removed from the cabinet. Sometimes it seems impossible, but you probably have some modern drawer slides with a safety feature to keep the drawer from toppling out on a curious toddler. There’s probably a very simple mechanism that needs to be pressed or slid to one side to allow you to completely remove the drawer.
I recommend you do a Google image search to find out what kind of drawer slides you have, and then to a search at YouTube for how to remove a drawer with that type of slide.
Let me know how it goes!
The customer was able to figure out how to remove his drawer and successfully put his insert in. No tools required.

Another title for this post could have been “A match made in heaven — your narrow drawer and the Brandi template.” But that sounds too dramatic and rather ridiculous. So we’ll stick with the boring-but-practical-sounding title.
The narrow kitchen drawer tends to be used for flatware, and there may be no better candidate for a custom drawer insert. Why? Because every bit of space counts in a narrow drawer!

By far, our most popular template for narrow kitchen drawer is the Brandi template…and for good reason. When all the dividers in an insert are oriented front-to-back, we can use thinner material for the side walls of the insert, leaving more usable space across the width of the drawer than with other templates.

You might be wondering, “Why can’t you always use thinner material?” Well, the slots require that we use thicker material. If dividers are in the side-to-side orientation, we need thicker walls to make sure there’s room for slots and for enough material left over for a structurally sound product.
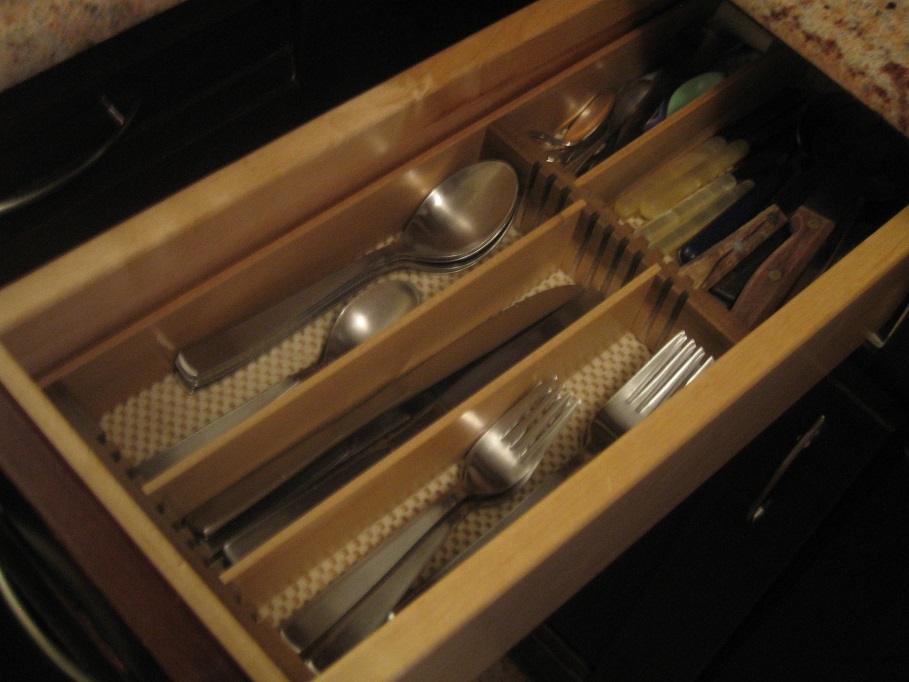
If having thinner material is important for your drawer situation, let us know, and we’ll do what we can do accommodate.
People often assume that the height of their drawer insert should be level with the height of their drawer box, but this is not necessarily the case. Another common assumption is that there are “standard” drawer sizes. If you’re reading this blog, chances are you live in a part of the world that is wealthy enough to have no such thing. Beyond kitchen counter height, there are not many “standards” when it comes to cabinetry and therefore drawers. Drawers come in a myriad of sizes, including heights.
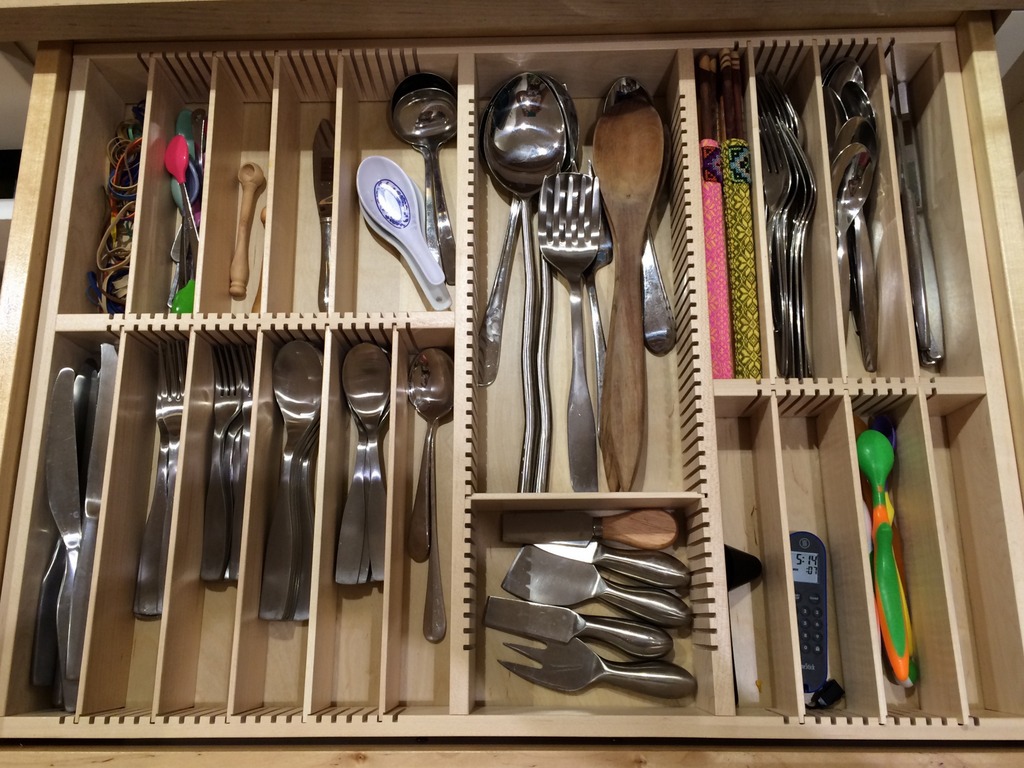
The height of your insert should be determined by how you plan to use the drawer — not by the height of the drawer.
Consider a 4.5″-tall drawer where you plan to store silverware. If the drawer insert were 4.5″ tall, and you had a 2.5″-wide compartment for forks, imagine reaching your hand into such a compartment. If you can’t imagine the tight squeeze that would be (especially if you have large hands and if the compartment contained only a few forks), try to simulate such a situation before designing and purchasing. Such an insert might look nice in the drawer, but retrieving items from it could be quite awkward.
There’s a reason why most off-the-shelf drawer organizers are 2″ or less in height.
Certainly, though, there is a place for tall-ish inserts — a narrow , 10″-wide drawer that needs to hold 12 place settings of flatware, a baking drawer for large bulky items that could spill over a short insert…
Bottom line: when deciding the height of an insert, consider functionality above all else. Consider how your drawer extends and if that should factor into your insert height decision. If you determine that you need a 2.5″ or taller insert, you might want to consider scooped dividers.
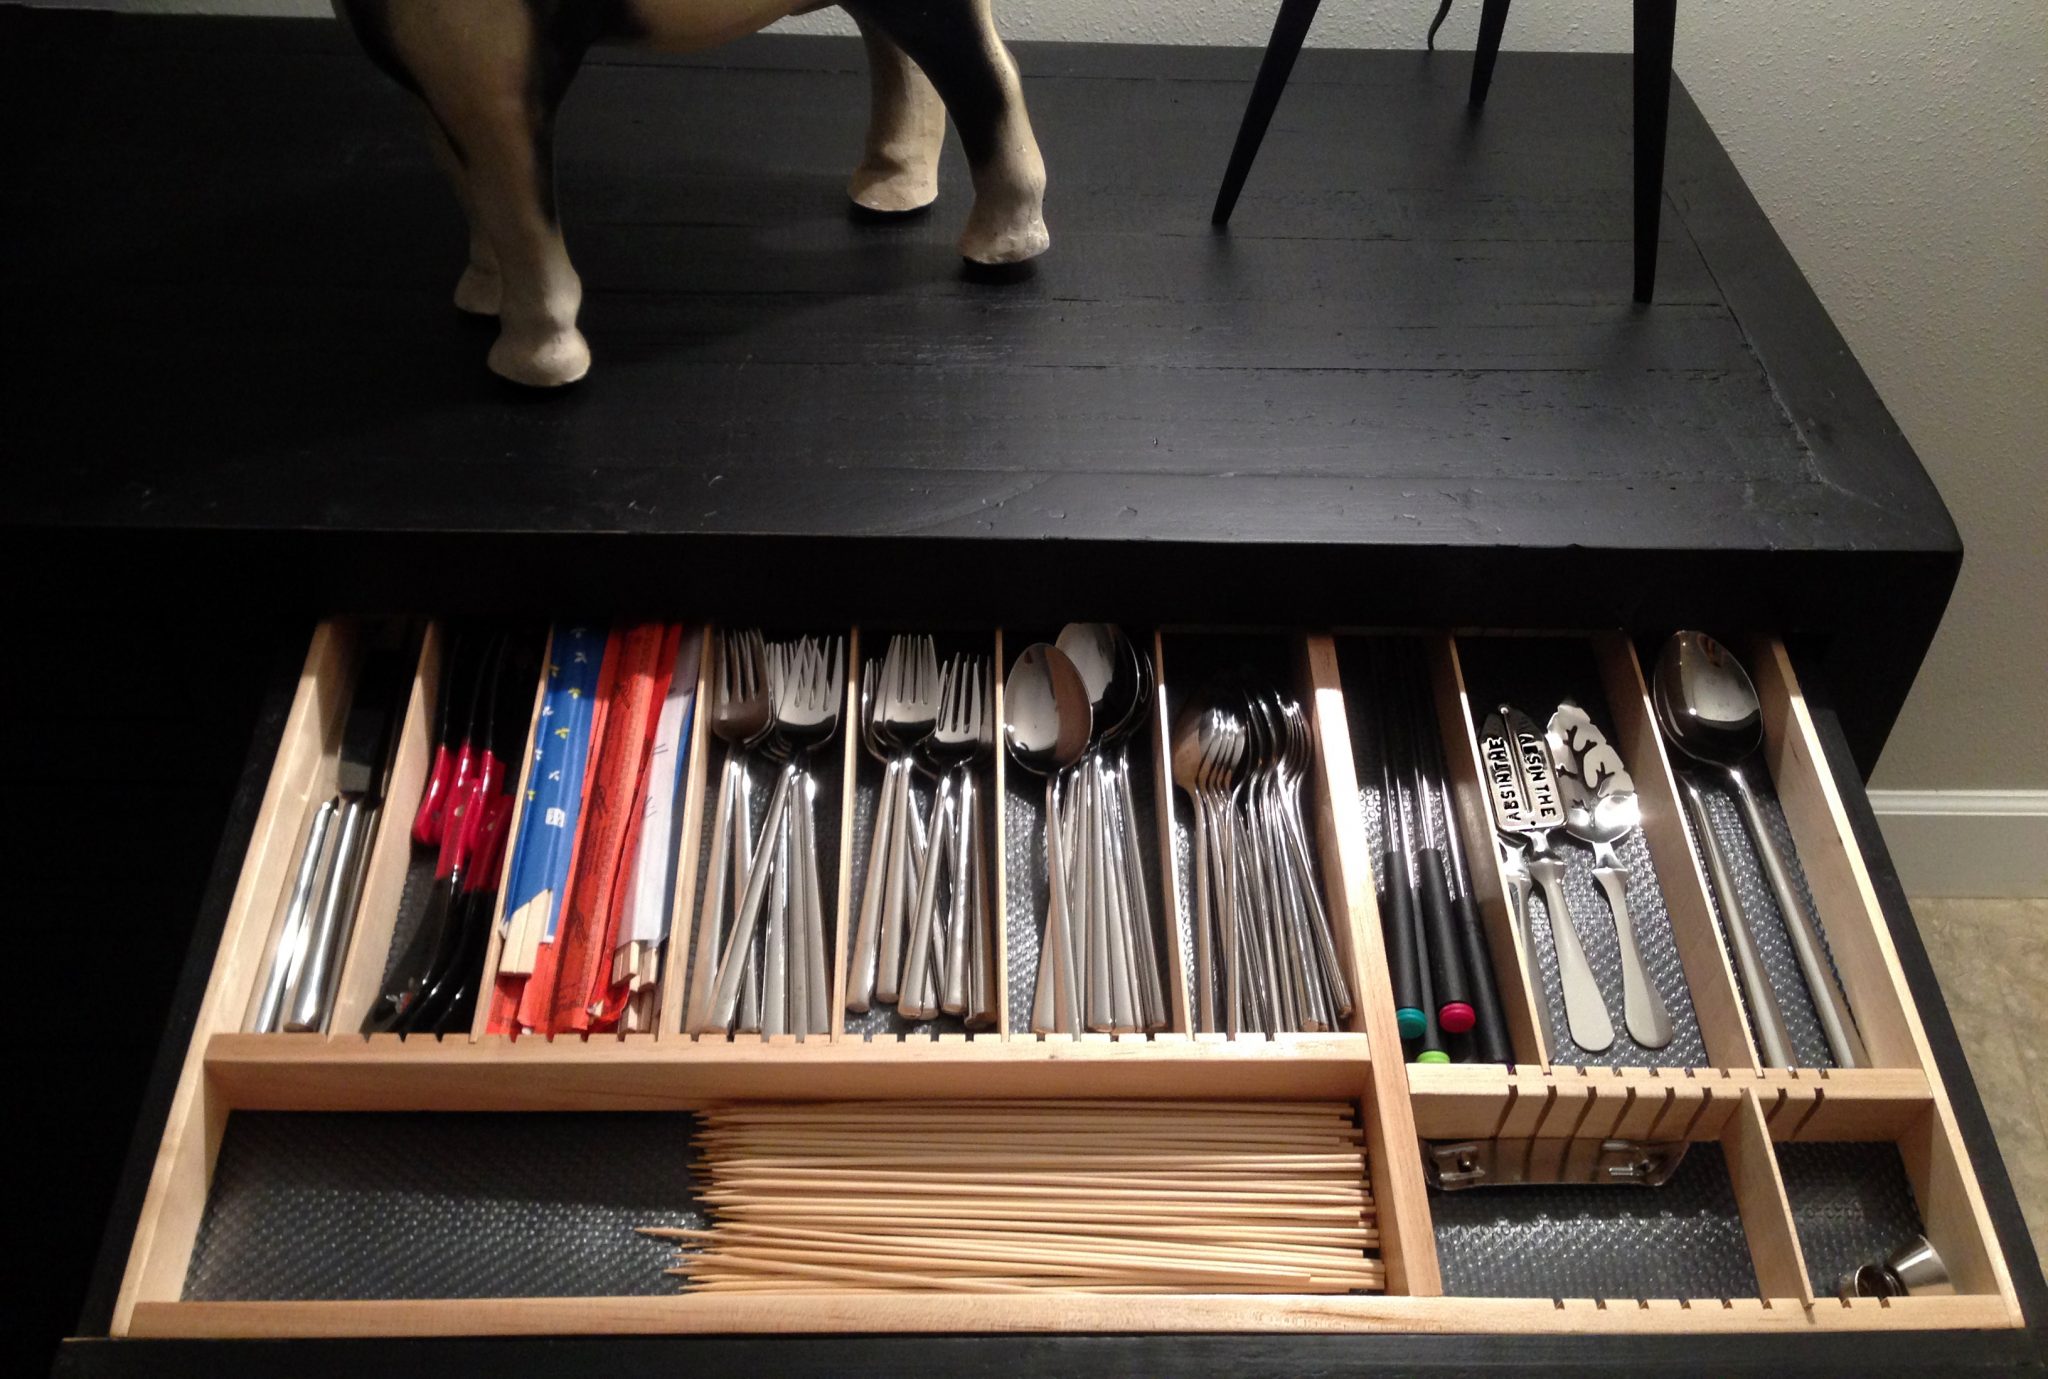
It’s easy for what I’ll call “overflow” drawers to get ignored. I’m talking about drawers in sideboards, hutches, buffets, credenzas, servers… These drawers typically store overflow silverware, the good silver, linens, etc. Their drawers are usually shallower than those found in kitchen cabinets, and finding a suitable organizer can be tricky.
If you’re looking for a nice drawer insert to complement your hutch/sideboard/buffet, we can provide a solution that looks, perhaps, as timeless as the furniture piece.


